Showing posts with label CARDS. Show all posts

Tuesday, January 22, 2013

More for Valentines Day

Here are some more cards I've created for the Valentines day.


Valentines Day Card

I got the mess from Christmas cleaned up in my craft room just in time to make the next mess for Valentines Day! Sooo, here is the first for the season. I found a tutorial on Pinterest. The lady called called it a Tri-fold card., but when I looked at it, it was more then that. It's cuts are similar to the Tri-shutter card, but only on two thirds of it instead of the whole card.  If you've ever made a tri-shutter card you will know what I'm talking about.  I've re-named this card; the 2/3 shutter card.


Sunday, January 8, 2012

It's A Winner!!

I'M SOOOOOO EXITED!!!  I have won my first challenge ever!  I love Stampendous' stamps and products and I'm so in love with their "Fran-tage" line.  I love this color combination and how the card turned out. I'm looking forward to entering more challenges with this company, and looking for others to enter also!  Here I go!

Saturday, December 24, 2011

Stampedous Saturday Color Challenge; Pink, Creme, Brown and/or Gold

Card Ingredient List:
Brown, Pink, Cream Card Stock
White Embossing Enamel by Stampendous
Shaved Ice by Stampendous
Pink Glitter
Aged Gold Embossing Powder by Stampendous
Creme color ribbon
Dragonfly Stamp by Stampendous
Die cut shapes from Spellbinder
1 vintage button
embroidery floss
Sentiment from Starform stickers

I cut the base card from the brown card stock in A2 size.  Then cut 2 size shapes with Spellbinder Dies from the Creme and Pink cardstock and adhered together. Tie ribbon around this piece, tying a bow, then Fran-tage with Embossing Enamel, Shaved Ice and glitter.  On another piece of creme card stock, stamp the dragonfly with versa-mark and emboss with Aged Gold embossing powder.  Cut this out and pop it up with foam squares onto the pink and creme shape. Adhere this to the base card.  Punch or cut out a 2" tag and tie it onto the bow with creme colored embroidery floss and a vintage button. Adhere your sentiment on the tag.

Thursday, December 8, 2011

CHRISTMAS CHURCH

These Tea Bag Folded Trees came out so, so, so, pretty! They are fun and easy to do! The church is embossed, lightly smudged with Ranger inks, and glittered only where the snow would rest on the church, trees, and ground.


Wednesday, October 26, 2011

ST NICK

 The holiday season is quickly upon us, and it's time to get busy!  This is my first Christmas GBS set.  I have fallen in love with the new Stampendous Jumbo Stamps! This one is called St. Nick, perfect for my Gift Bag Sets!  I have also become a fan of, and LOVE, LOVE, LOVE Fran's Encrusted Jewel technique! You can find this  at www.Stampendous.com  Using a kraft paper bag and kraft paper for this Gift Bag Set, I stamped with "Vintage Photo" Ranger Ink.  Colored only the beard, hair, cuffs and trim in a soft white, whisped with the encrusted jewel technique; Backed with "Pomegranate" Bazzill card stock, add a big red bow and TAAA  DAAA! Simple and so Frantage!.


Friday, October 7, 2011

FRENCH TOILE

One of my favorite color combinations is red, black and white.  I love the toile prints and so with this combination, ooooo la la!  I used the Jumbo Cling stamp "Romantic Boarder" by Stampendous, "Black Soot" Distress Ink by Ranger to edge the bag and card.  I found the paper at Micheal's. The accent flower is my first attempt at a fabric flower, in combination with a rolled paper rose. Wha La!


Wednesday, September 21, 2011

LOVE ME A PEACOCK!

I've been wanting to do something with peacocks and their feathers. I love the colors and I think they are the most beautiful feathers of all the birds. I have a couple Dreamweaver Stencils with the peacock and feather; and a stamp of a peacock feather from Stampendous. I used a pearlescent embossing paste from Dreamweaver with the stencils and Stampendous' Blue Tinsel and Recollections' Blue Blaze glitter embossing powders with the stamp to create this set. I found that when I colored the embossing paste, the pearlescent came through the colors!


Tuesday, September 13, 2011

NATIVE NOTES

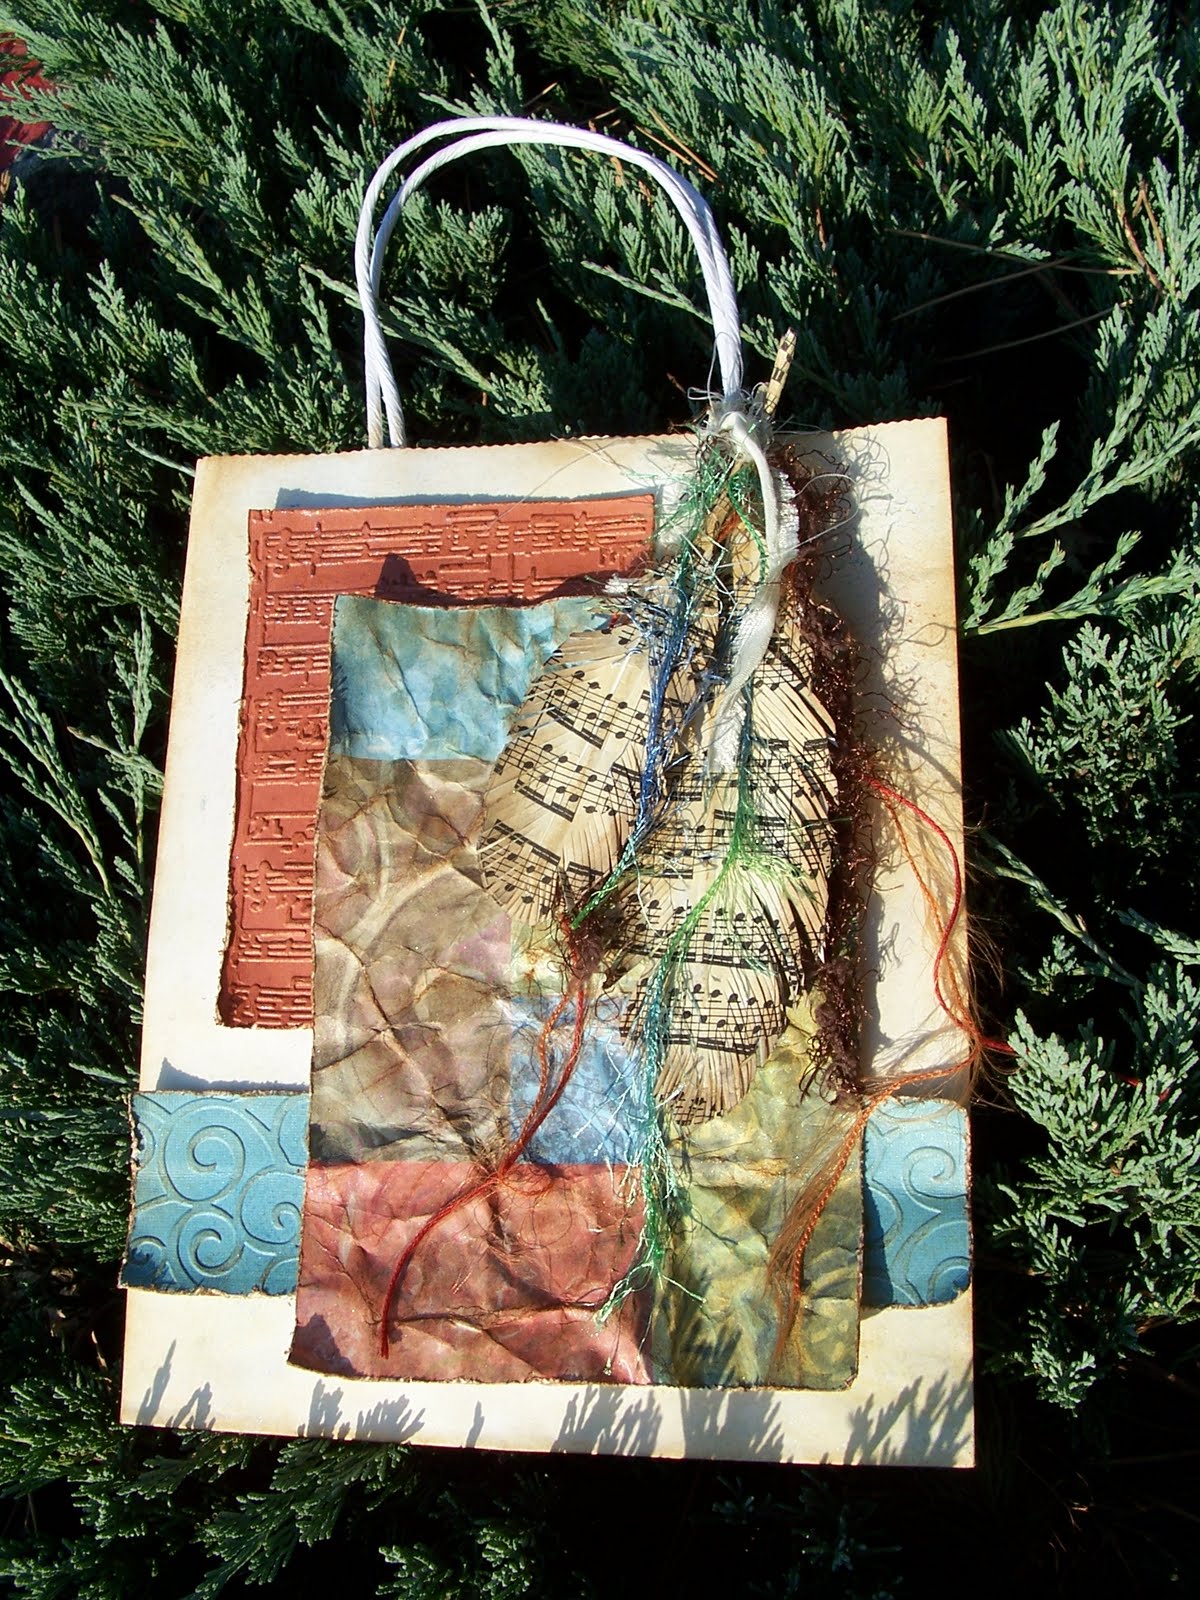
I have to first give thanks to my friend Wendy Jordon for naming this bag for me!  She is a very talented craftier/artist and teacher.  I love these feathers!  This set features Southwestern colors, with different textures from various different techniques and of course I added the feathers and fibers!


Saturday, September 10, 2011

KOKOPELLI GBS

 I took a stroll through my local mall to take note of what styles and colors are in this fall. I found at one store, frequented by the younger generation, drab and grungy colors with a flair for native designs.  It was there I found inspiration for this new GBS design. This set is more of a southwestern native design. I used Vintage Photo, Haystack and Antique linen colors of Ranger distress inks, antique gold Perfect Pearls, matte white embossing paste, a Kokopelli Indian rubber stamp and a southwestern design rubber stamp to make it appear as Native drawings on cave walls.  I plan on expanding this line as soon as I can find more Native American supply and tools.
I made the feathers from old sheet music paper and adorned them with various fibers.

A waterfall style card with the same materials

 The envelope.
The tag.


Tuesday, September 6, 2011

BOYS LINE FROM DISNEY'S "CARS" (BGBS-KACHOW)

 Again, at Cindy's request, a set for her grandson.  I believe she is my biggest fan!  Since I first showed her what I was doing she has special ordered 5+ sets from me, then promoted me to her friends and family.  She is so awesome!  Thanks again Cindy!
This set is cut out from the Cricut Disney Pixar cartridge "CARS."  Fire Brick Red Ranger Distress stamping pad was used for the coloring of the card, bag, tag and envelope.  I don't know what the stamp set is anymore, I've thrown the packaging away.  I can say it is a set of clear stamps I purchased at Joanne's. 


GIRLS LINE (GGBS-PRINCESS ARIEL)

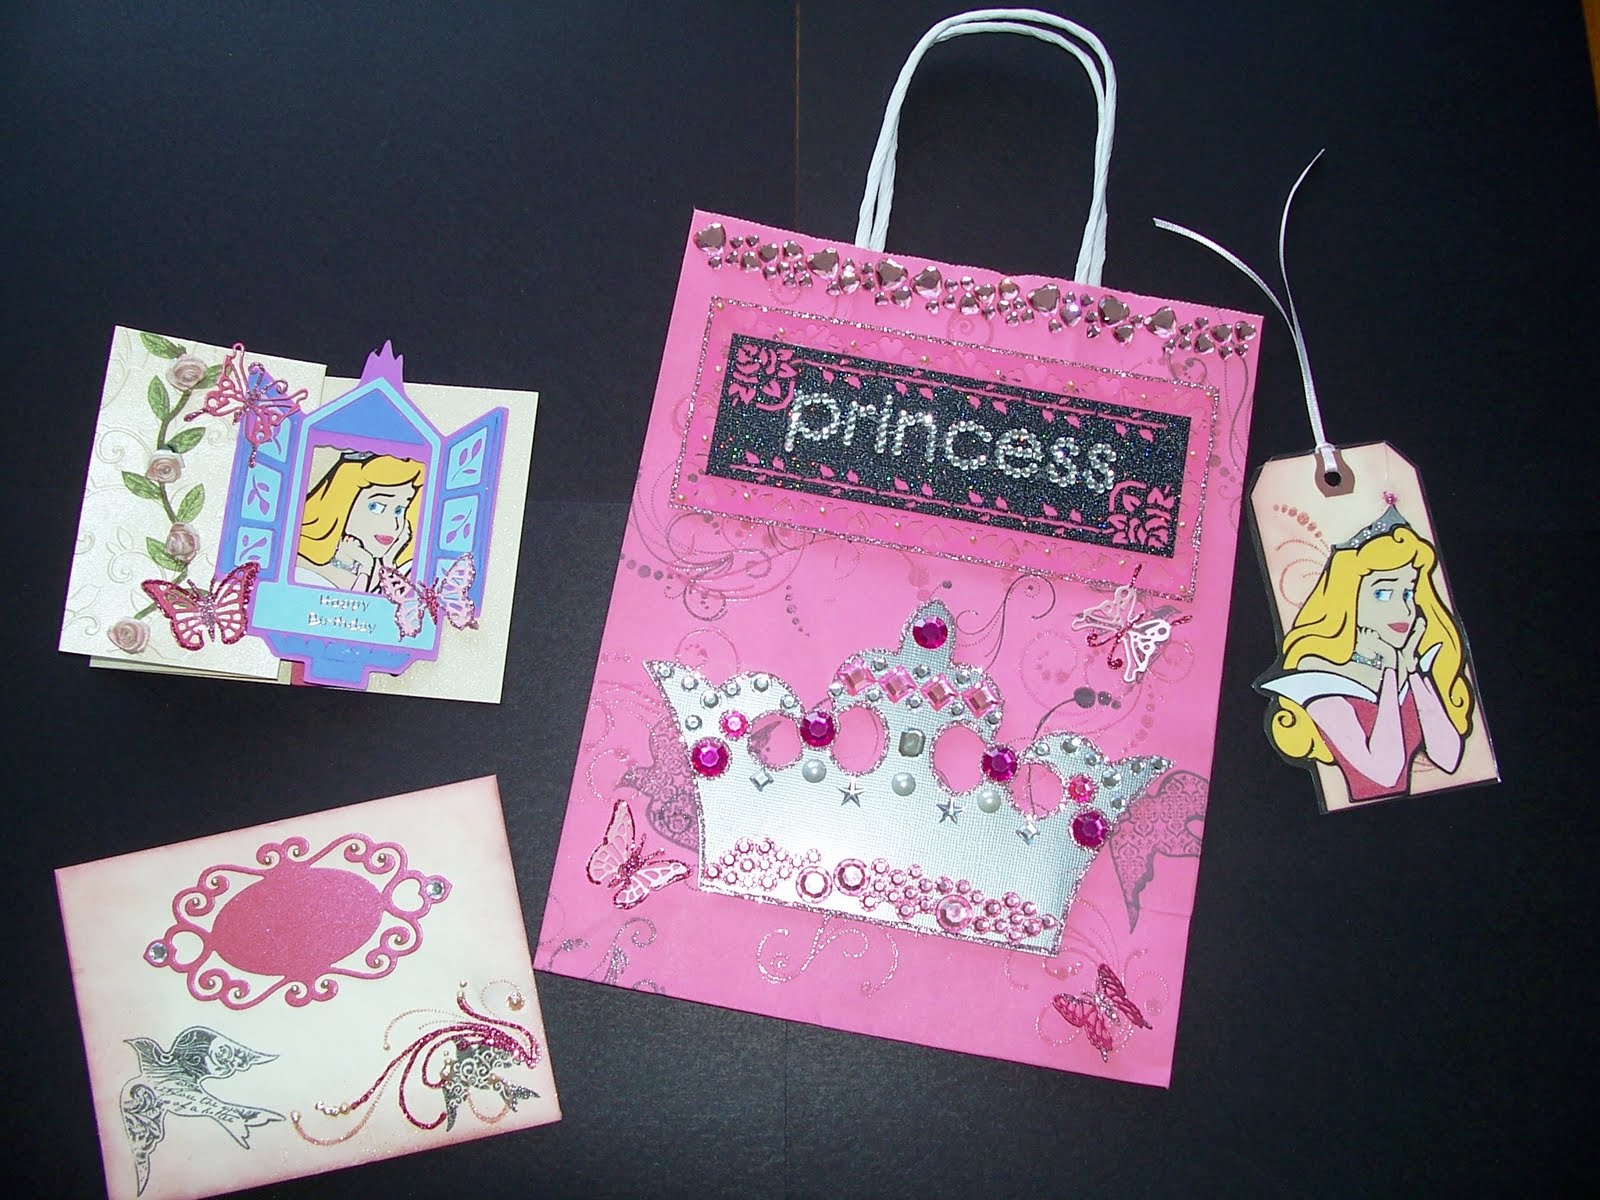
I created this set at my friend Cindy's request for her granddaughter's birthday.  Cindy told me, "she is such a little princess, and she, (the granddaughter), will tell you that she is!"  I know many of you, if not all mothers and grandmothers can relate to this!
I used the Cricut cartridge, " HAPPILY EVER AFTER,"to create princess Aurora.  The Crown pattern came from the same cartridge, and I built it up with lots of jewels, (rhinestones) fit for a princess!  I found the jeweled word "princess" at my local Joanne's on clearance!  Perfect!  The label on the envelope is  cut out from a SHAPEABILITIES die from a SPELLBINDERS.